
Product design coursework module
Ideation
Design
Manufacturing
UX/UI Designer
25 hours approximately
The children's library area of a nursery is a vital space for children's learning and development. It provides an opportunity for children to explore books, engage with stories, and develop their language and literacy skills. Having age-appropriate and comfortable seating options is crucial for this space. Chairs that are too big or uncomfortable can be distracting and take away from the overall learning experience. Therefore, there is a need for a chair that is specifically designed for young children, with the right balance of comfort and durability to withstand regular use in a nursery environment.
"We believe reading and literacy is imperative to a childs growth and food for their imagination"
To fullfil this statement the chair in question would need to be suitable for a young child to sit on as well as incorporate themes that are typical within popular books locatated in their library.

Sketching

Design Development
Modelling
Digital Design
Design Criteria

Plan of making
Cutting list
Diary of Making
Final Product
I decided to create a large grid of sketches of all types of furniture because I wanted to explore different design options and ideas. By sketching out a variety of furniture pieces, such as tables, chairs, bookcases, and couches, I was able to experiment with different shapes, sizes, and configurations. This allowed me to explore various design possibilities and gain inspiration for future projects. By creating a large grid of sketches, I was also able to easily compare and contrast the different designs, which helped me identify which ones had the most potential. Overall, this exercise helped me expand my design skills and creative thinking, while also providing me with a useful resource for future projects.
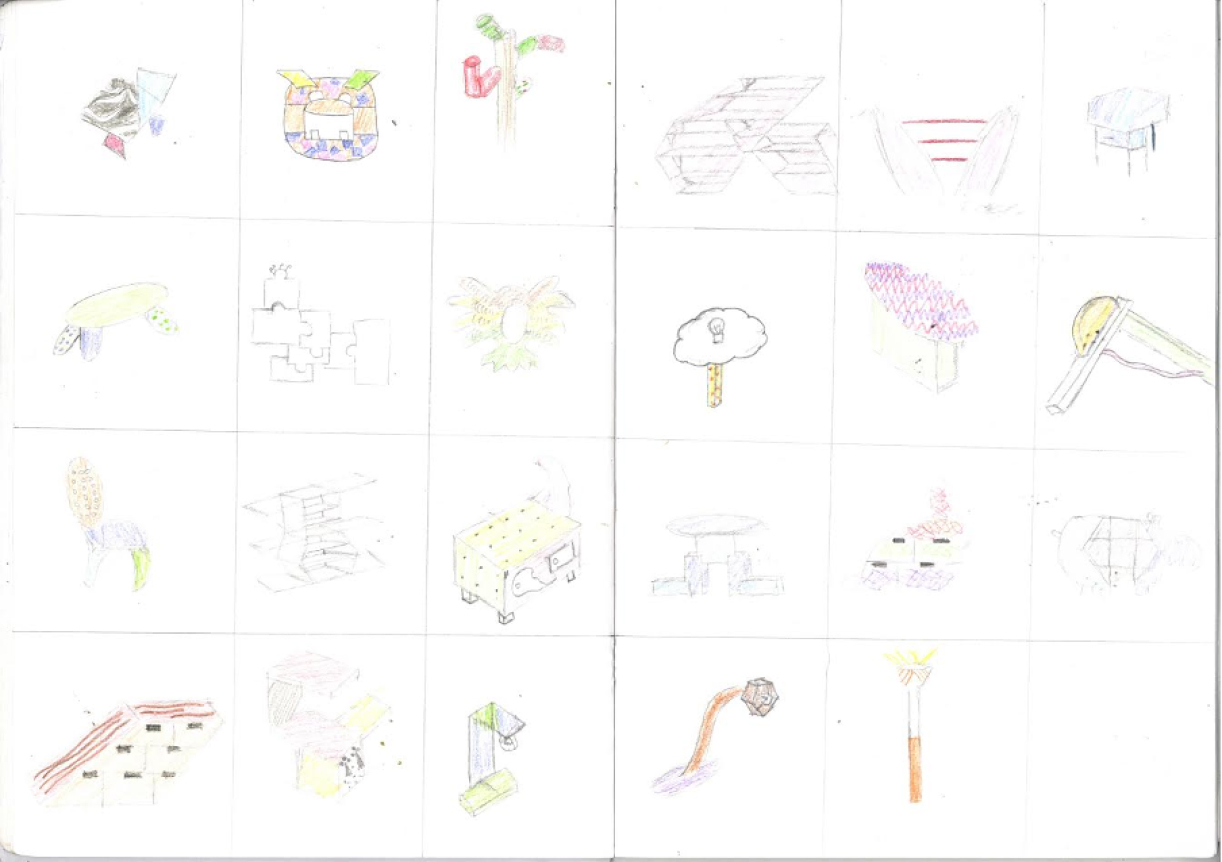
After creating the grid of furniture sketches, I selected a few ideas and further developed them by adding more details and refining their designs. During this stage, I carefully evaluated the advantages and disadvantages of each option before moving on to the next development stage. By taking the time to analyze each design in-depth, I was able to identify areas for improvement and make informed decisions about which directions to pursue. This approach allowed me to focus my efforts on the most promising ideas and ensure that I was making progress towards creating the best possible designs.
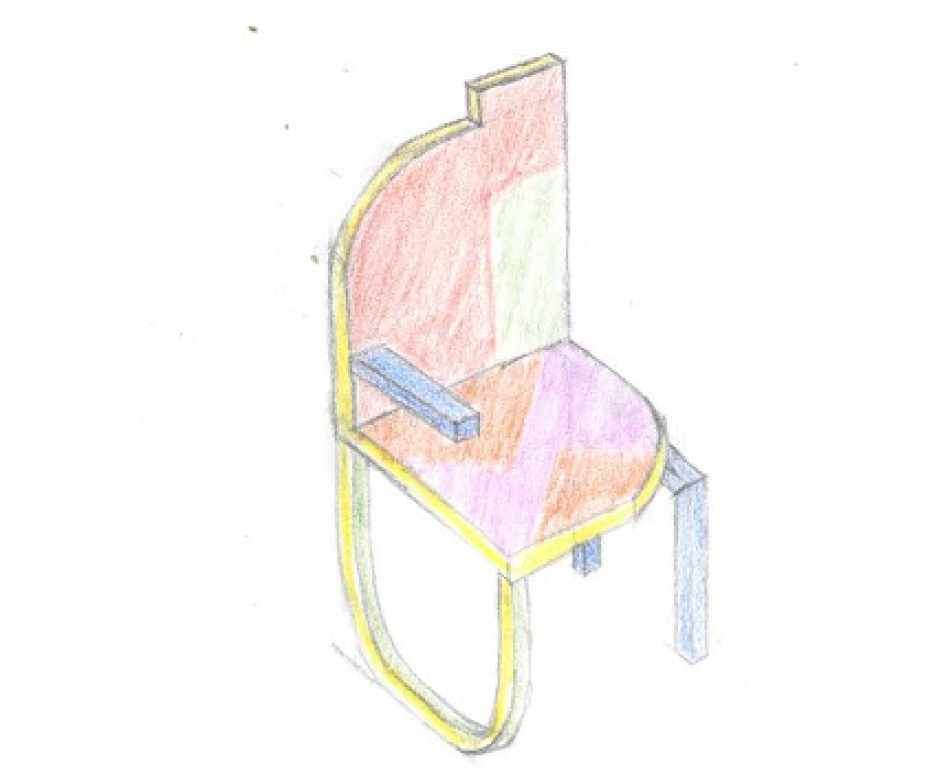
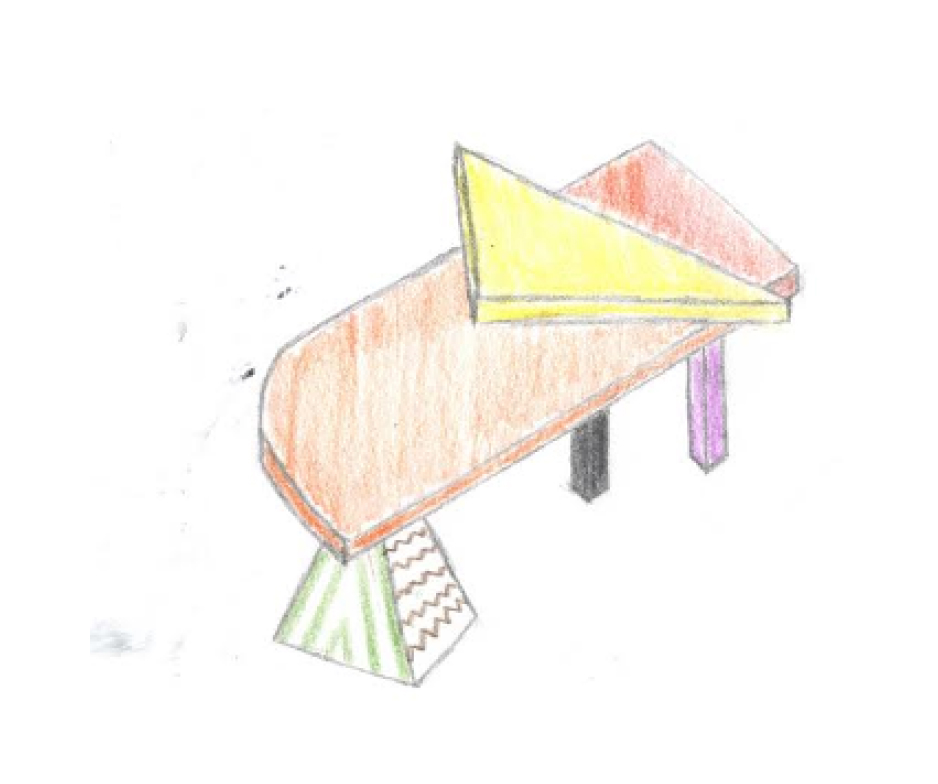
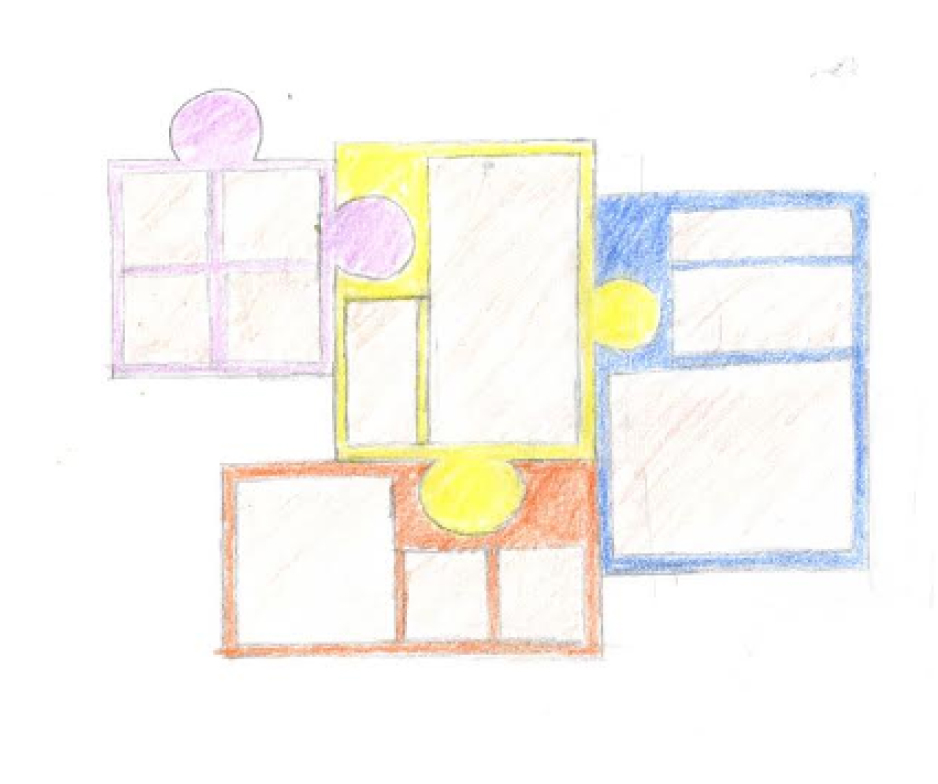
I enjoy design development because it enables me to refine my ideas into functional and tangible designs, and discover new possibilities through an iterative process of designing and evaluating different options.
This design development task follows a process similar to the "crazy 8s" method, which involves using different techniques like changing colors, adding new elements, altering proportions, and experimenting with shapes. Through this exercise, I was able to critique and evaluate the initial design, identifying which aspects to keep or reject. Additionally, it emphasized the importance of generating a large quantity of designs in the early stages of the development process. This quantity helped me to explore a wide range of possibilities and ultimately contributed to the creation of a successful final design.
(Hover over images for more information)
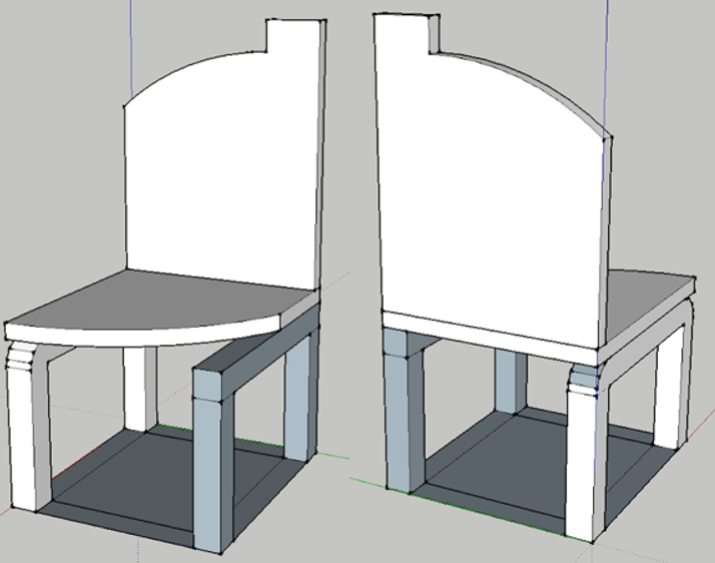
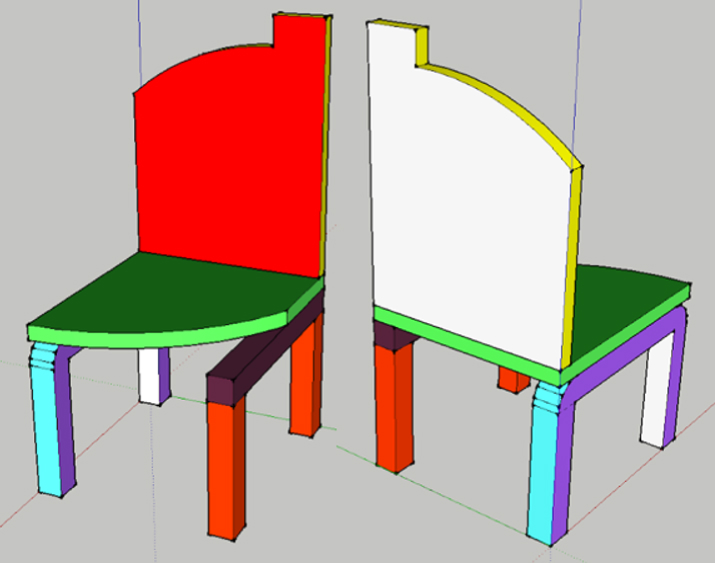
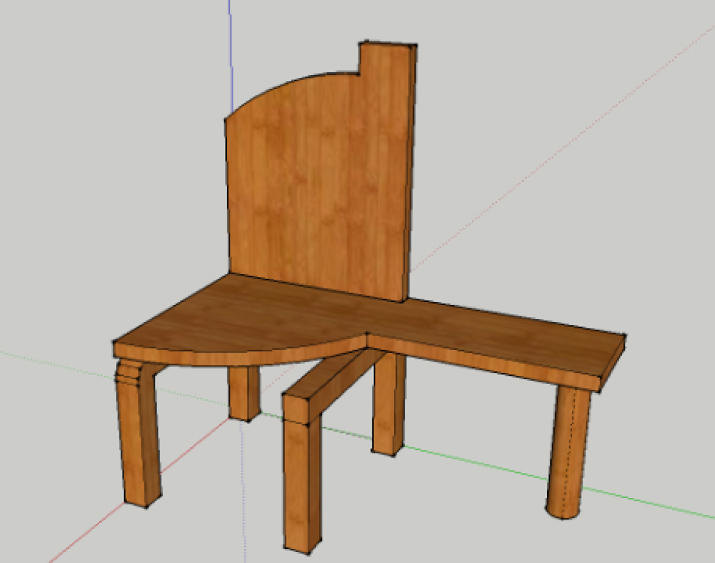
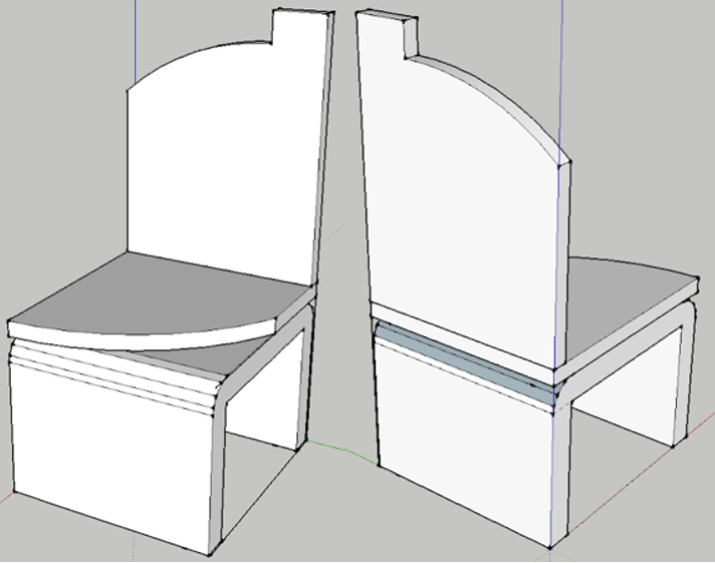
Making models was important because it allowed me to visualize and test the design concepts in a physical and tangible form. By creating physical models, I was able to see how the designs looked and felt in three-dimensional space, and to evaluate their functionality and usability. This helped me to identify any issues or areas for improvement early on in the design process, which ultimately saved time and resources by preventing potential problems from arising later in the process.
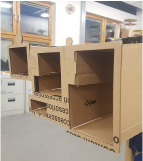
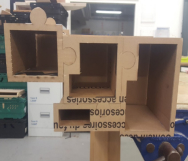
This is a card model of a shelf inspired by Memphis design using the theme of a jigsaw puzzle.
The design is distinctive for its integration of each shelf compartment with a puzzle piece, although a potential improvement would be to produce the compartments separately, allowing the consumer to assemble them in a customized way.
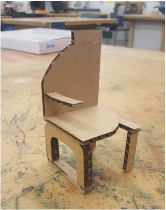
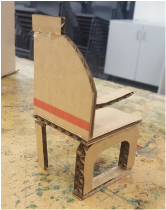
This is card model chair inspired by Memphis design that considers lots of geometric shapes.
The model matched the envisioned outcome from the 'design development' stage, but it revealed that the curved seat would be impractical and uncomfortable for users. In addition, the curved seat compromised the structural integrity of the chair.
By creating cardboard models, I was able to test and gain better visualization of my original design ideas. I also created a furniture model that was unrelated to the brief (the puzzle shelves) to draw inspiration and experiment with various concepts. Through this process, I recognised the importance of focusing on practicality in my final designs.
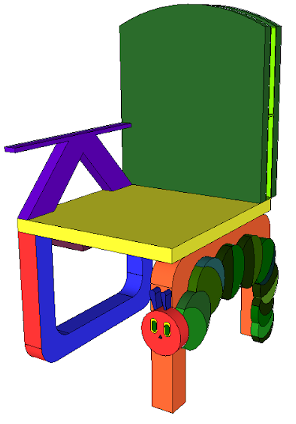
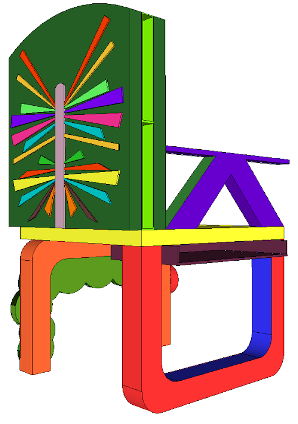
The final design is a bright and colourful chair inspired by Memphis design, using various shapes and geometry, while capturing the children's theme of 'The Hungry Caterpillar'. The colours used are to represent the colours of the food mentioned in the book.
It was clear from the earlier design stages that the chair needed to incorporate some functionality to be successful. Since the chair has a book theme, I decided to include a shelving unit in the backrest and a tray at the bottom of the seat for easy book storage. The idea for this storage solution was inspired by the shelving model I had created earlier and was seamlessly integrated into the chair design.
| Specification | Met | Comment |
| The design must be colourful | The design uses a variation of colours | |
| The furniture must be appealing to children | The theme makes of the chair designed is relatable for children | |
| My design needs to be inspired by the Memphis movement. | Uses geometric shapes and many colours and is original | |
| The piece of furniture will need to have rounded edges. | It has some rounded off edges but many are sharp still | |
| The furniture designed must be a chair/stool | The design is a chair | |
| The size of the furniture must be proportional and suitable for the purpose of seating someone | The dimensions make it suitable for the target market of 3-4 year olds | |
| The chair must be suitable for indoor use | The materials and paint to be used are ll suitable for room temperature and conditions |
Before the physical product could be built from the designs the process of making was planned out. A table was created with the following headings:
Executing this plan ensured a smooth manufacturing process by consolidating all necessary cautions and deadlines into a single document for the manufacturer's easy reference. This document served as a guide to ensure the chair was produced safely and successfully.
A cutting list was generated to account for all materials and parts needed for the chair, as well as to assess the cost of the materials used in the design. Creating a cutting list was crucial to ensure that all components were included in the make and that the work could be organized according to the 'plan of making'.
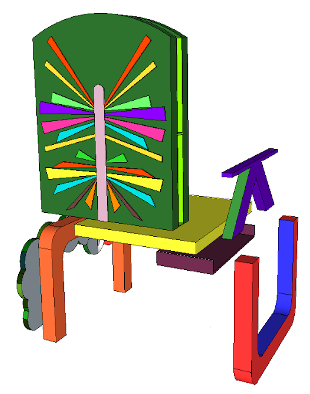
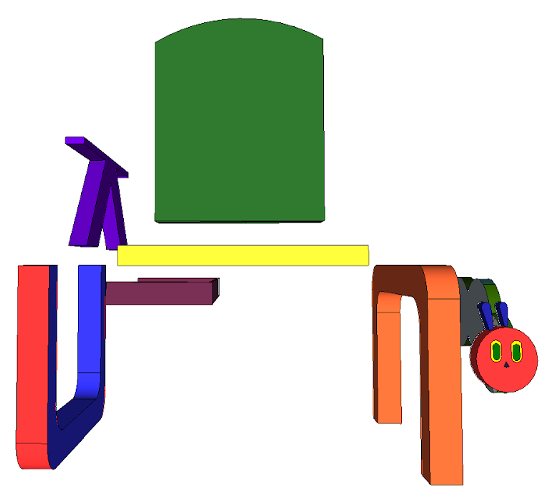
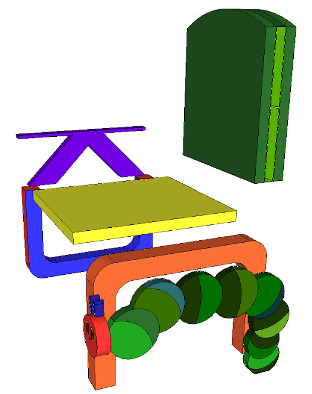
The exploded drawings above were included alongside the cutting list to aid in identifying all individual parts of the chair that need to be accounted for in the making process.
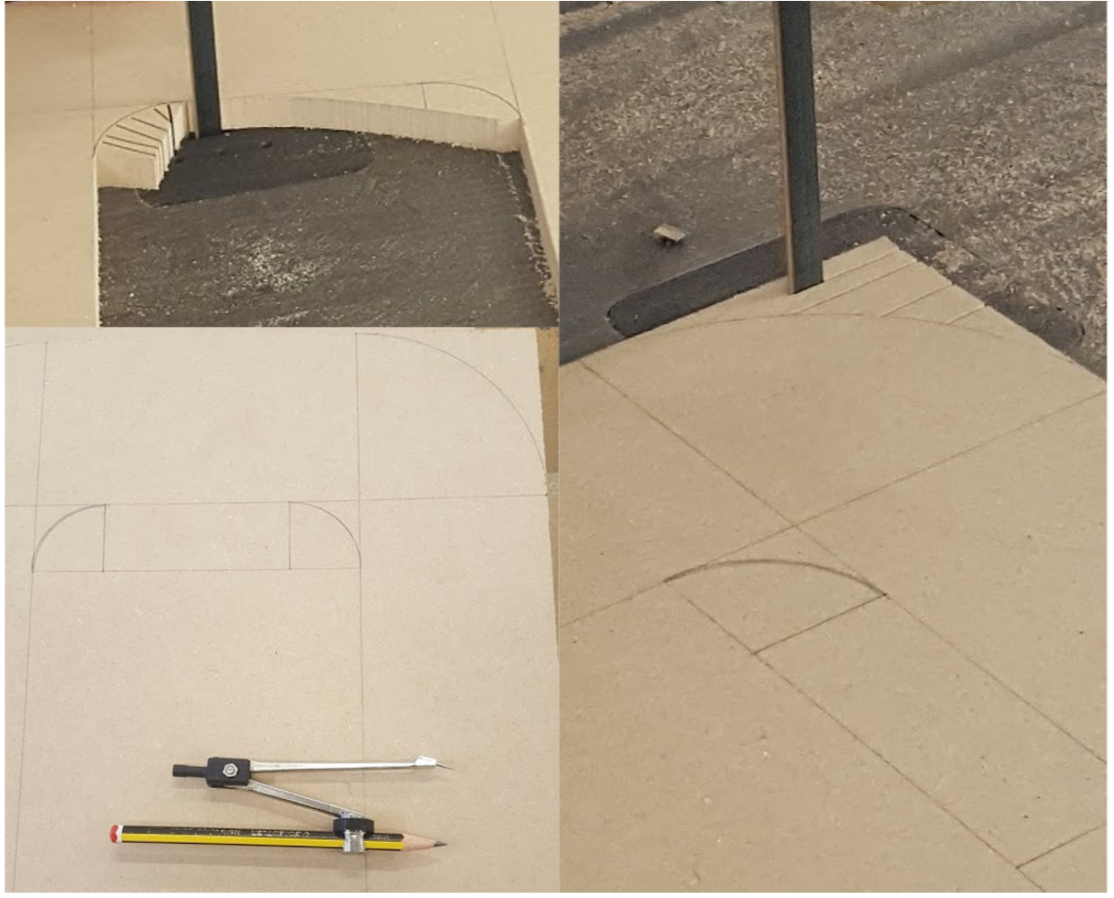
Using a compass and ruler curves and straight lines were accurately marked out and cut out on the band saw. This process was done on 4 different pieces of MDF for the various components of the chair.
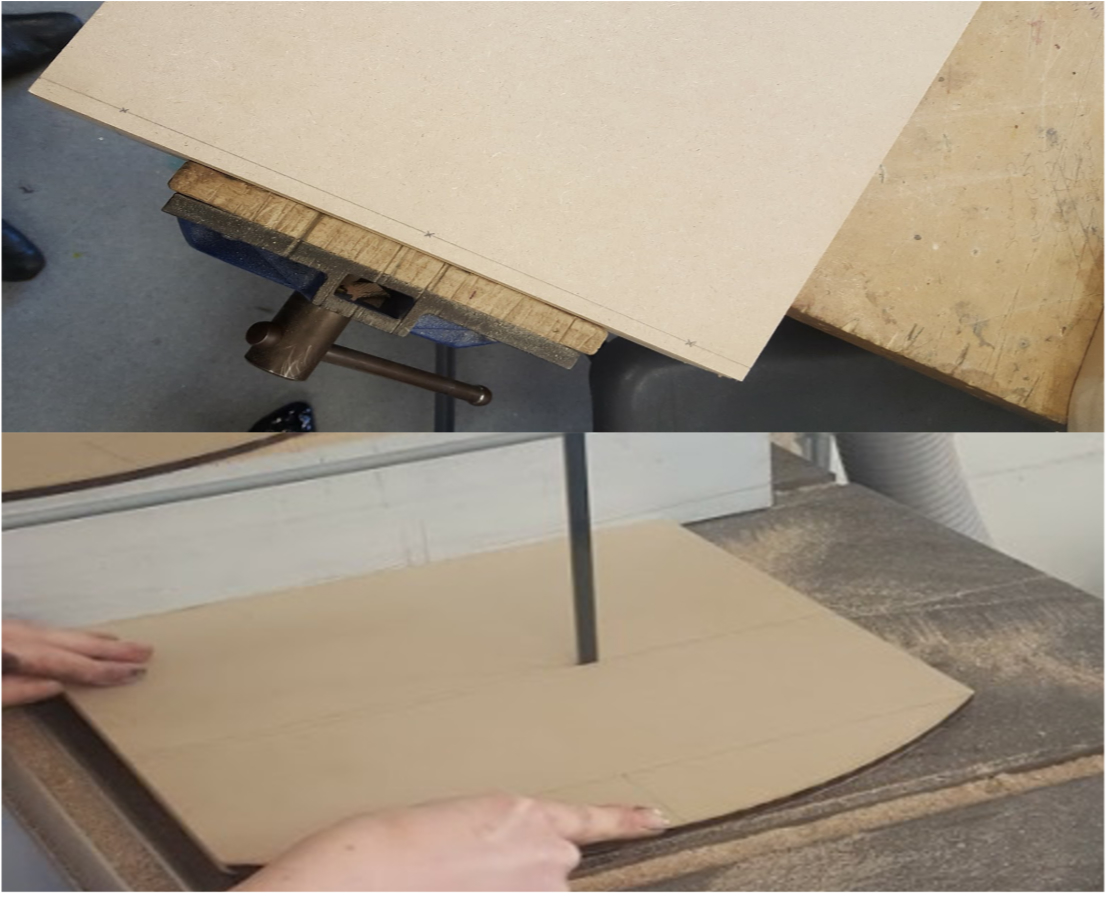
After cutting out the back rest on the laser cutter, the lines needed so that grooves could be made in the back rest were marked out.
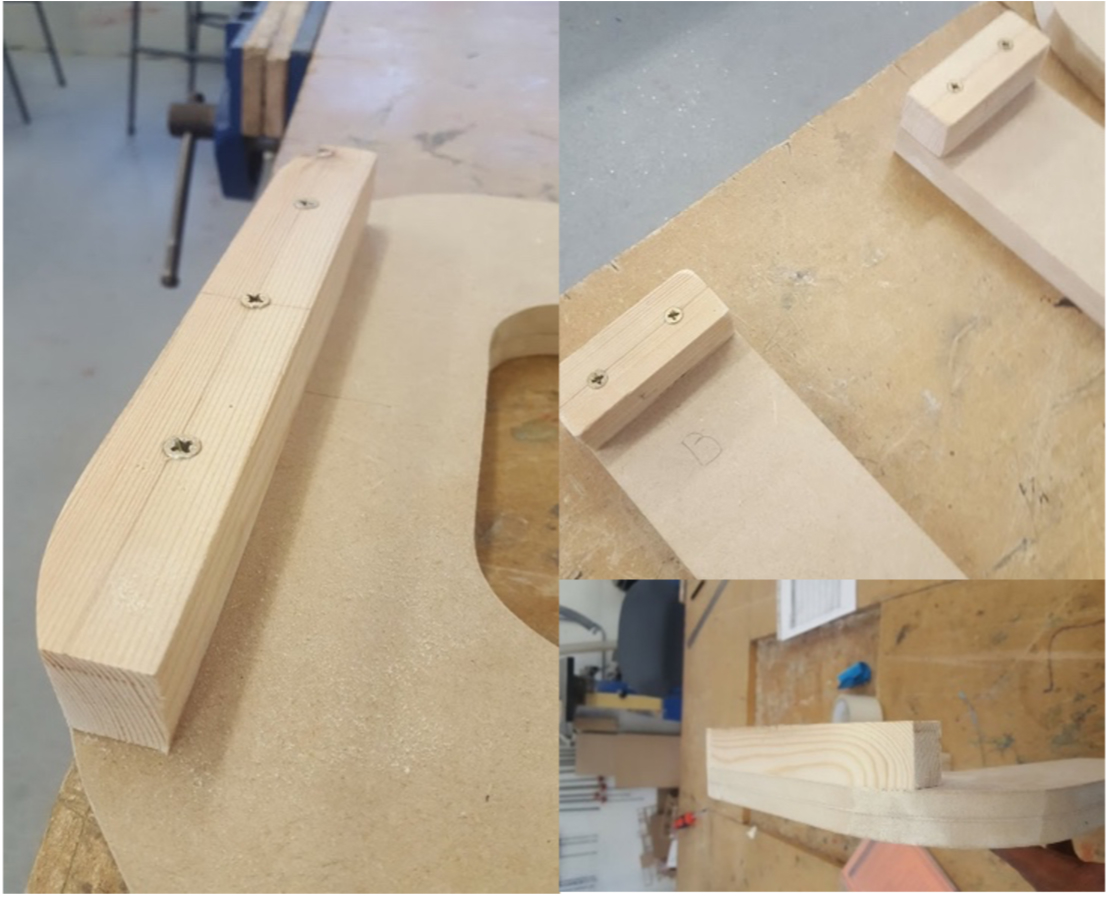
Once the legs were cut and sanded, corner blocks were aligned and drilled in to the upper paer of the legs. If there were any uneven areas and rough catches they were removed using the belt sander.
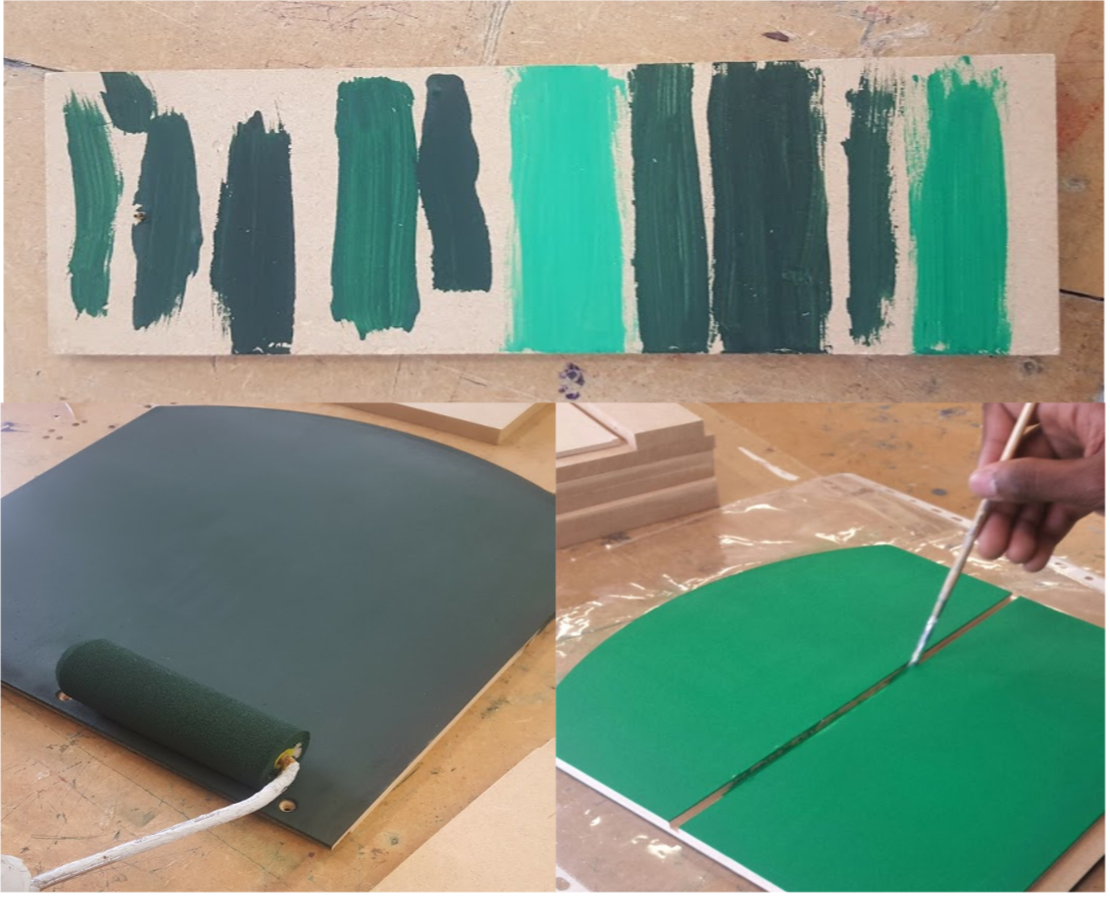
Tests were done for different shades of green on the MDF so that the desired colour contrast could be confirmed. Once the colours were decided it was applied using a roller on large surface areas and using a brush where more precision was required.
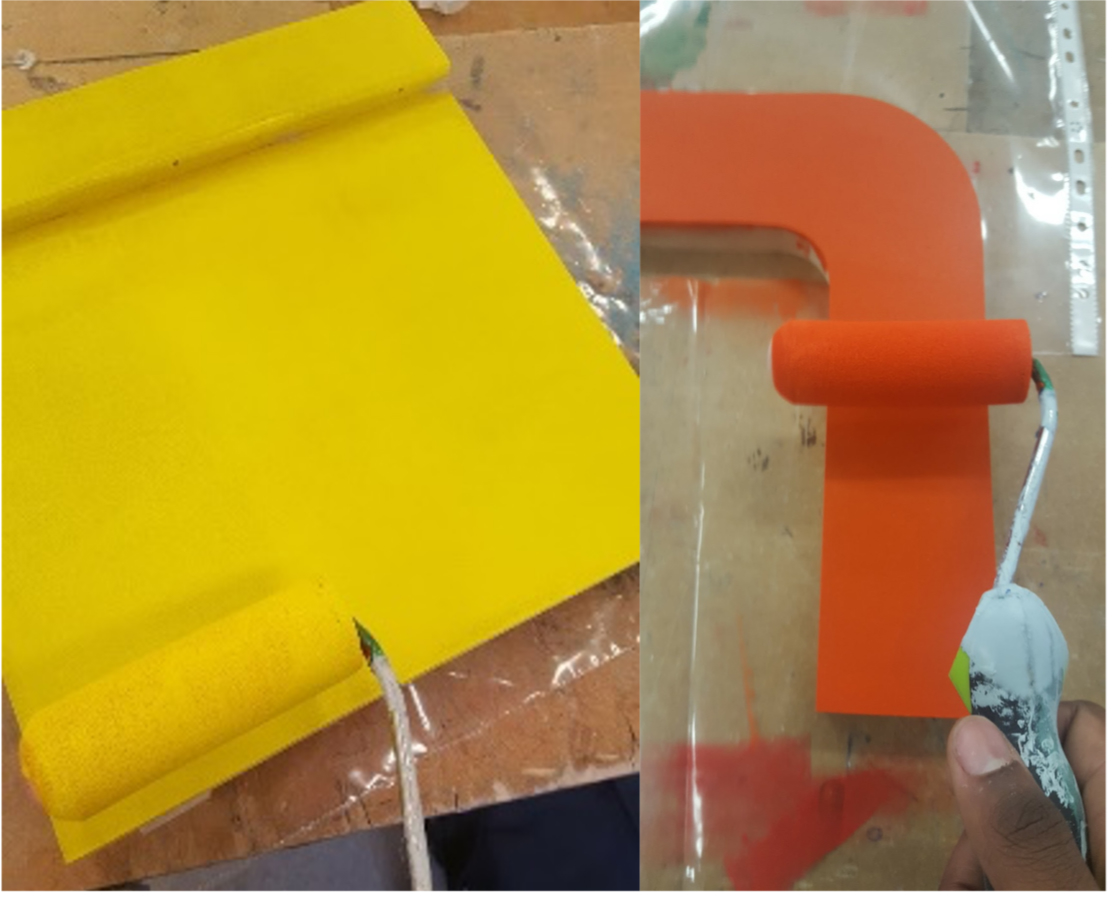
The rest of the components were also painted using a roller, and brush where necessary, including the seat and legs.
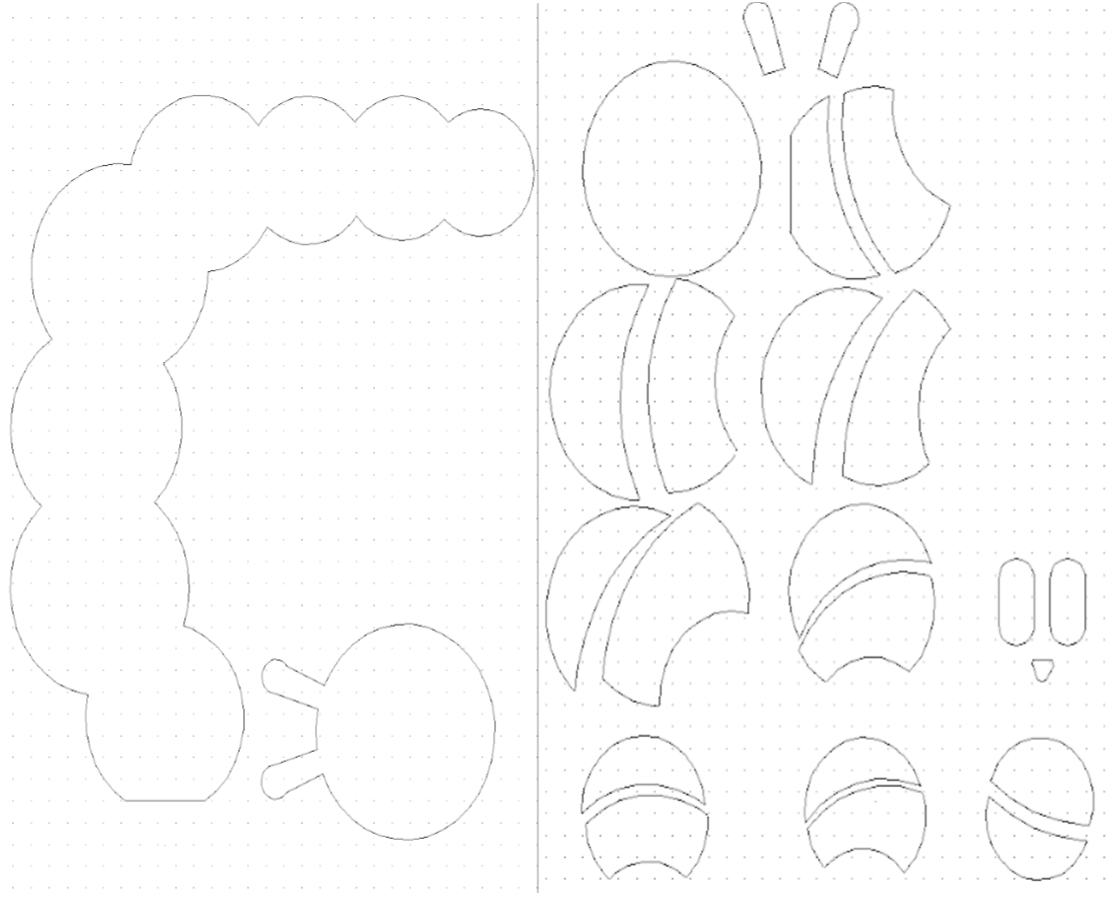
Next the smaller decorative components of the chair were designed using '2D Design'. I made the main caterpillar and took sections of it and made half circles for the acrylic parts to be cut.
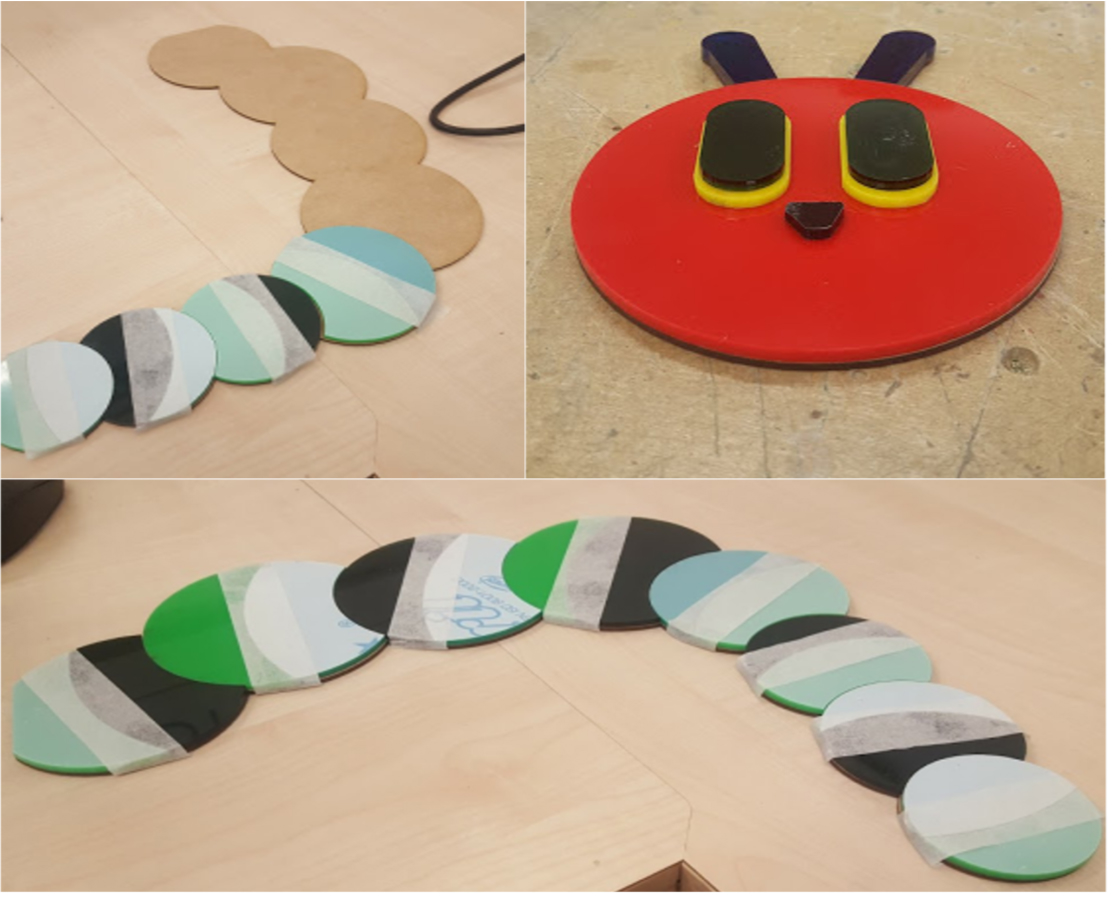
The caterpillar body was composed of three shades of green acrylic which were cut using a laser cutter. Once cut, all of the pieces were aligned to assure they fit correctly. After this they were glued using mitre bond.
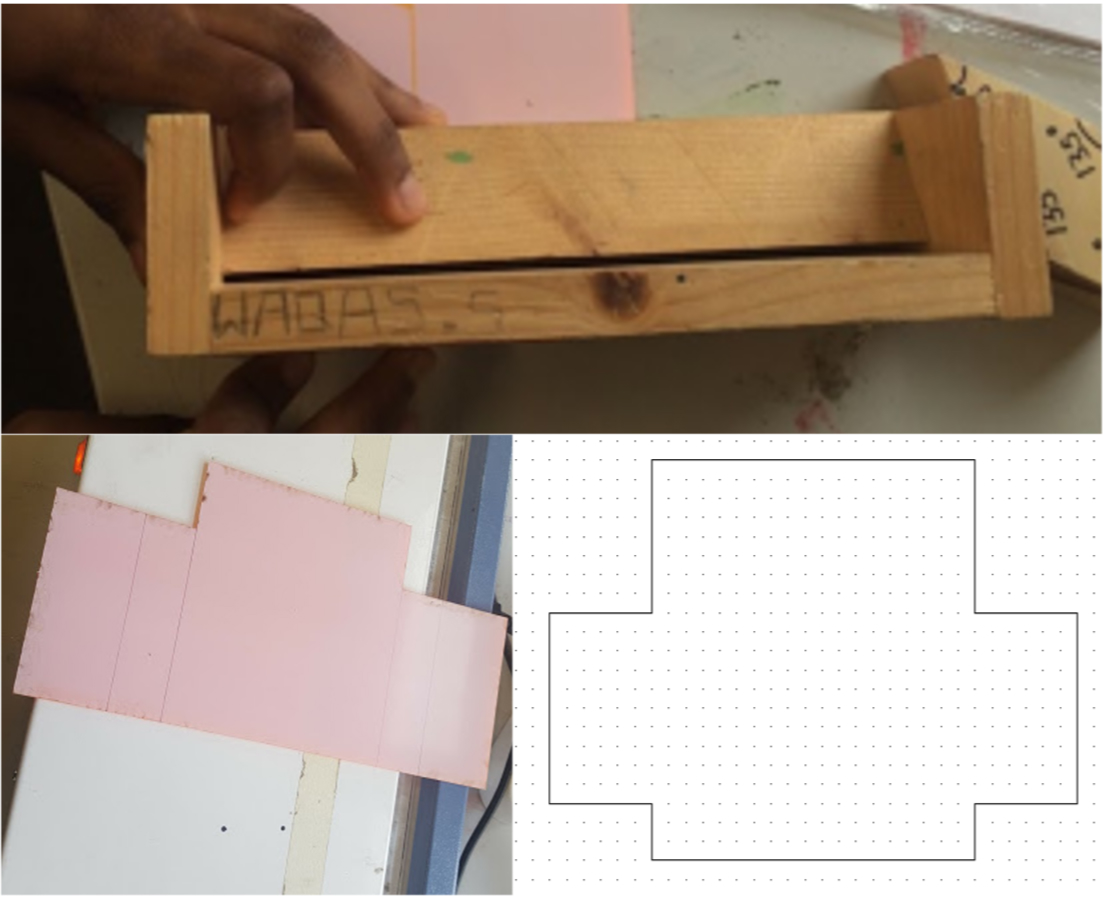
The tray at the bottom of the set was designed in 2D designed and cut in the laser cutter using orange acrylic. Markings were made on dispolable film so that it was possible to bend the acrylic accurately on the line bender.
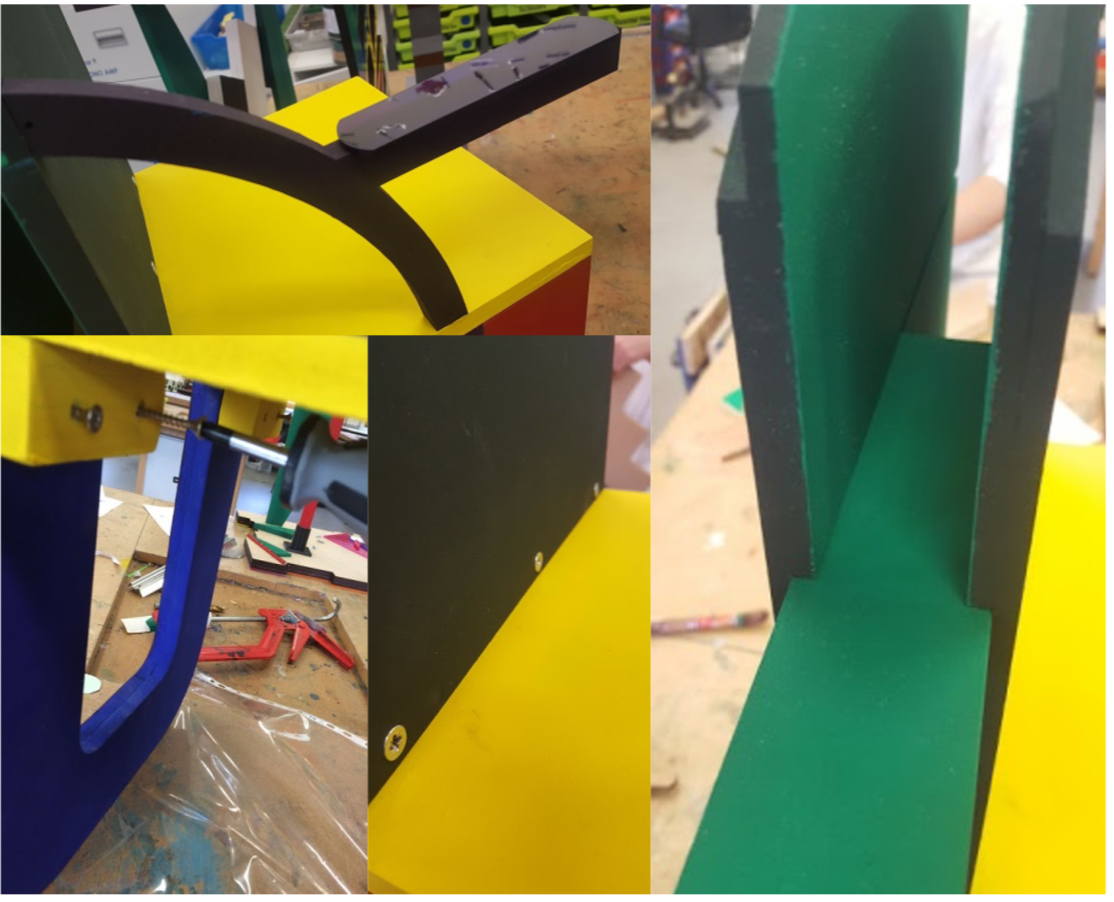
All components of the chair fastened together using dowels, screw bits and glue.
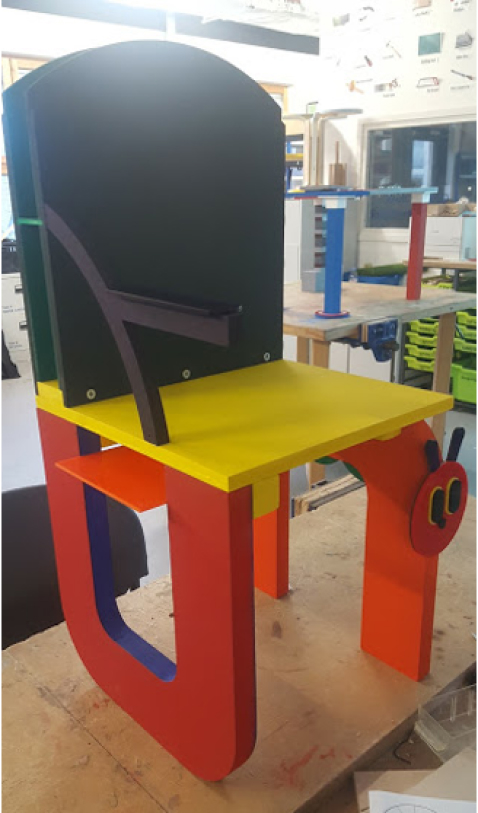
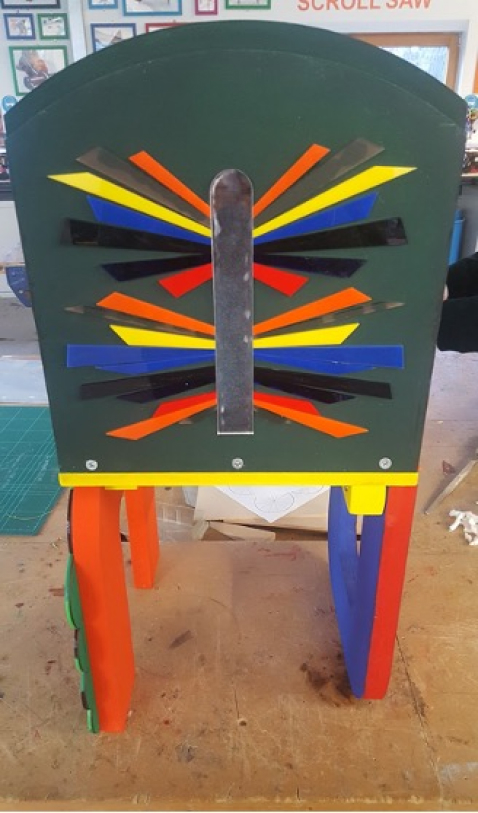
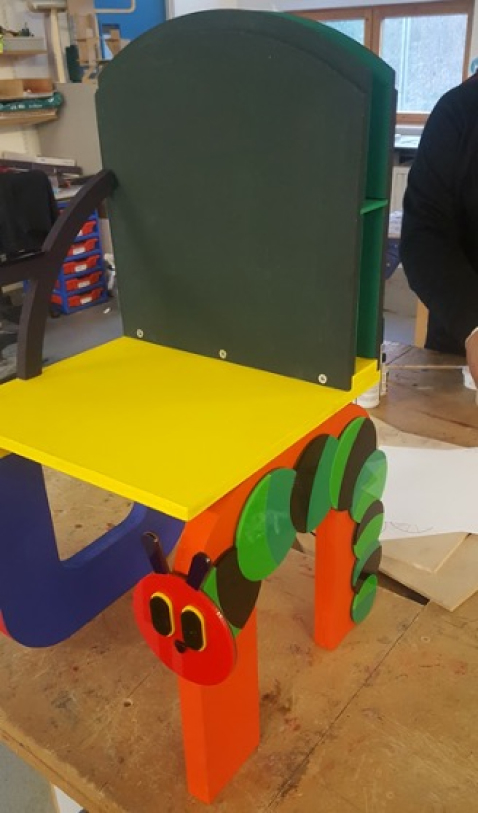
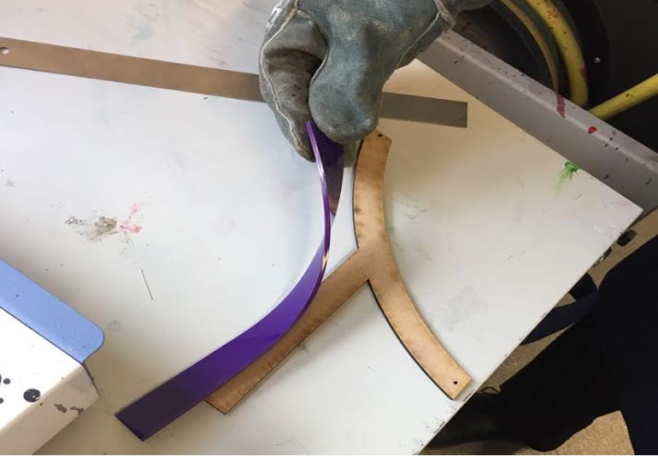
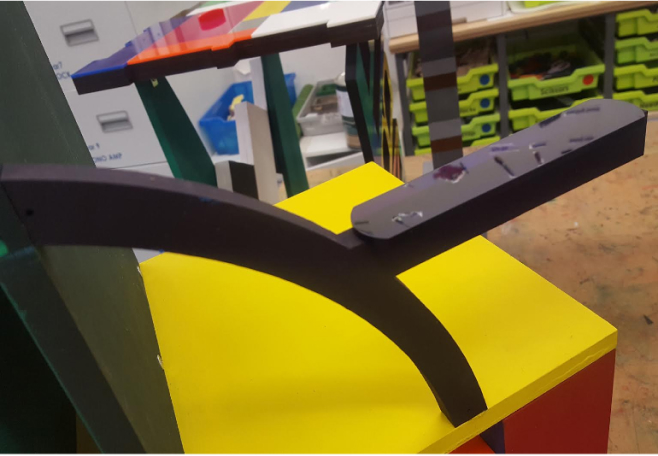
Some modifications had to be made during the manufacturing process. The original armrest was to be made out of purple acrylic only. However, when the acrylic was heated so that it could be moulded to the desired shape it was evident that it would be very inaccurate. Therefore, the main structure was made out of MDF instead and featured a piece of acrylic on top to increase the surface area of the rest and make it more comfortable for the user.
With the product being complete some testing was done, and some feedback was given, both positive and constructive.